Aside from doing doll couture, I have been fascinated as well with dioramas and the challenge of doing a scaled down model of sets and scenes that would compliment whatever doll couture I'm doing. This time I have finally documented a step by step how to of the recent diorama I did for the newly released Ficon doll, Lacvert. (Funny story though, the doll artists behind her, K, just shipped the doll to me and the doll got stuck at customs for almost a month, out of panic, we didn't get to talk whats the name of the doll, what set or anything, all I know that her gown and look reminded me of limestone cliffs in China, Chinese porcelain and a tranquil flowing river... so while waiting I just proceeded with doing the diorama. My only plan is just the doll should be on a bamboo raft, on water, and available light. The doll finally arrived and got to finish the shoot. When I send the photos to the artist, he was just so shocked that everything fell into place... The doll's name was Lacvert, or green lake in french... it was an organized chaos after all... anyways... going back)
Materials
4 4x2 feet inch thick styro boards
all purpose glue (lots of this stuff)
Cutters
Tissue Paper preferably plain or if textured use just spotted ones, no florals or lines
Dedicated 2 inch brushes, one for glue and one for dusting and one for painting
Watered down Beige/Tan acrylic paint at least 1:1 ratio to water
Spray Paints: Basic Blue, White, Grass Green and Black
Sand, Light Colored if possible, but regular sifted soil will do as well
Broken down old chalk pastels, or old brown eye shadow make up will do as well.
Sponge
Sifter
Glue Gun
Scaled Plastic Plants
Masking Tape
Flour (yes that's flour but we aren't making bread. LOL)
Big thick plastic bag used for gowns around 4x4 feet when cut and spread flat.
and this is the best part, old plastics, paper receipts, newspaper that you office/ kitchen collected through all these years and you have no idea what to do with them. LOLs.
1. Glue together the first 2 styro boards lengthwise creating a 4x4 feet wide sheet.
2. The other 2 sheets, cut a 2 inch boarder around both sheets, leaving one length wise side open, glue both sides together as the pic shows below, set aside. The rest of the material will be used on the next coming steps...
3. Mark the areas you wanted to raise on the bigger board using a felt tip marker or pencil and using the spare styro from step 2 and other used spare styro from previous project, start stacking up the boards according to your liking. Glue them permanently using a glue gun. When you are pleased with the height and proportions, start cutting off edges around and in between the sheets, making a more natural sloping look. The key here is to be inspired with nature, so no harsh lines and everything seems to be random, with notes on natural erosion and gravity.
4. And this is the best part, removing clutter from your home!!! lols. using old plastic bags, news paper, fill in the gaps in between your styros, and this is the part you create a rounder feel on the structure... use a masking tape to keep them all in place.
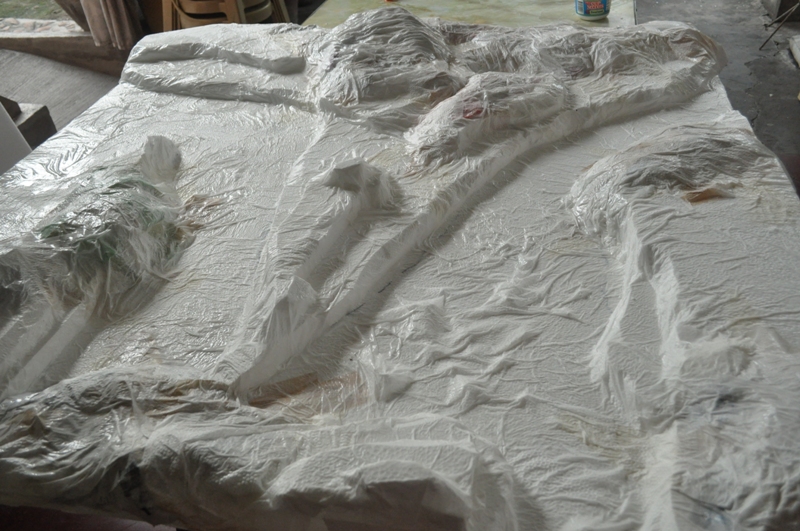
5. Once satisfied with your levels and height, add one part water to one part glue and mix well, using a brush, apply the mixture to the surface one area at a time. Apply tissue paper and using the same brush, brush and press the tissue to the structure carefully, checking creases along the way making sure they look natural, do this process all over and repeat if necessary specially for areas that are loose, like atop a plastic bag filled area. Let it dry, overnight if possible.


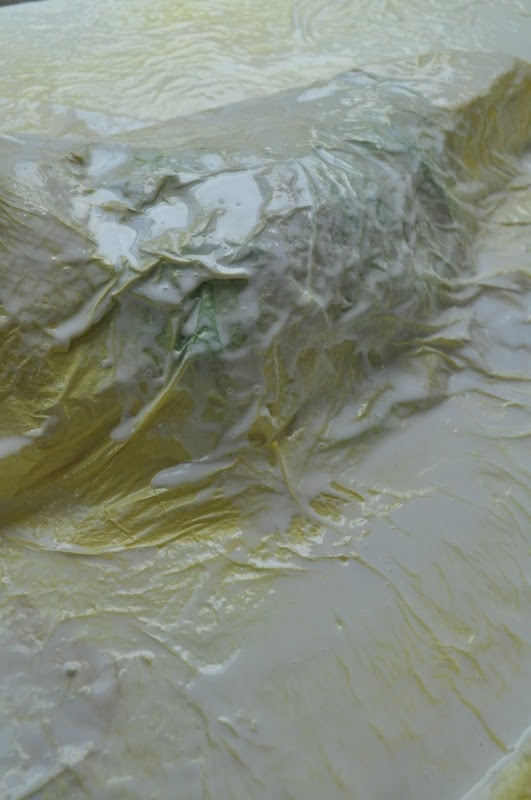
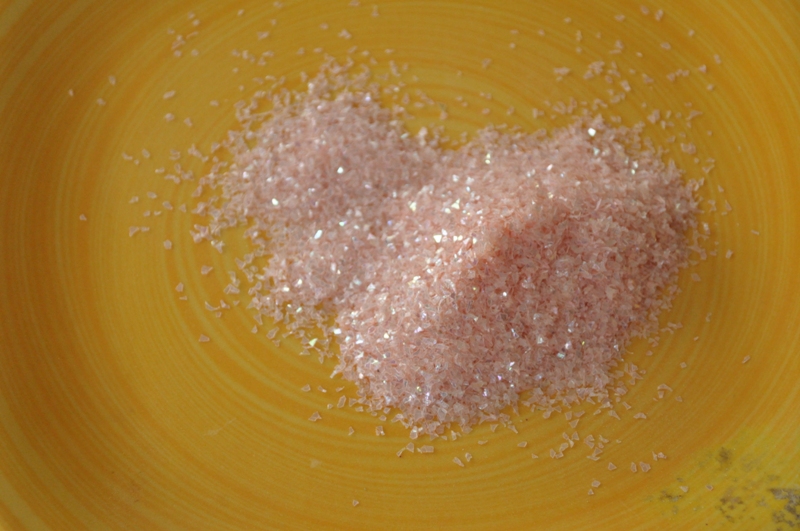
6. Sanding. Once the whole structure is dry to the touch we proceed with sanding. With this project though, before sanding I spray painted it with a creamish paint first to cover all the colored plastics that are seen through the tissue, double seal it if you want to make it water proof, but you can skip this step all together and proceed with sanding. Prepare your 1 part water to 2 parts glue mixture Apply it using a brush, one area at a time. let the glue seep trough crevices. Dust your sand all over the area using a sifter. Light tapping is best. For this particular project, I also used this cut plastic glitter that I put sparingly all around the structure, creating more texture.


7. Once dried completely its time to apply more dimension to the lime stone wall. Spray paint areas with leaf green on some areas and black and brown on shadows and anywhere you would think dirt would accumulate. This step ensures of a weathered look. Once Dried apply your watered down beige acrylic paint on raised areas and follow it up with dabbing using a sponge. This weathers the rocks even further and this is also a chance to come back on areas that seemed too dark for you liking.


8. Dusting. While the paint is still wet, dust the whole structure with a thin layer of flour using your sifter, let it sit for a while and let the flour suck in the moisture from the paint. once dried, dust it all off. This ensures your rock face will look matte on photos. Ground up old brown chalk pastels, make it lighter using yellow and beiges until you achieve the color of dirt, or simply use old brown eye shadow. The structure should be upright now, so you could have a sense where dust and dirt would settle on a natural setting... Dust the areas that needs to have that detail. Seal it with a matte finish clear spray paint or dull laquer.


9. Plants. You gotta have plants. for this project I hot glued on these plastic plants and moss on the areas near the base, since the water is there and back to the areas that showed some green. Just remember, do it like mother nature and stray away from a too manicured look. You can also add twigs here, and even real rocks if you have a wider base.
10. The Lake/River. The pool is fairly simple to do and you could finish this project in just 20 minutes. Get the other styro frame you did on step 2 and spread the plastic cover across it, making sure you're filling up the depression inside. Tape the corners and edges properly in place. Long strips preferably stretching the tape from the plastic edge to the back. check for holes right now. Spray paint it first with blue all over then follow it up with green on areas, use white even lesser. Spray black on the edges specially the area below the cliff face and the middle. Let dry.
This is how you arrange the pieces together.
The Raft: Basically I just woven bamboo sticks into rows until the desired width of the raft. Tricky though is how to make it float. Actually it doesn't. I made a base using a stiff black plastic folder and created "L" pegs below it. The pegs height should be water level's depth minus around 1/4th of an inch so it will sink a bit.
Tip. Make sure though the pool should fit your widest usable table and make sure that the area you're going to shoot at is level. Checking this ensures a level water line once the pool is filled. I prefer shooting this outside with the available light so everything will look as natural as possible- Early morning like 7-10 am for a cooler blue hued light, or 3-6pm for a warmer amber toned light. Plan ahead and orient the diorama to the desired position in reference to the light. Remember its not as if if your going to this set religiously, you can just move it in a whim.
This is the finished look of the shoot.
Hope I've imparted something today and maybe i'll make another one of this DIY blog soon.
Kisskiss
Cho:lo